Tales From A Less Tiny Apartment

Hello!

I know I said I would keep up with my improvements while I was in the process of moving, but if you’ve ever moved, you probably knew that was a pipe dream. With one or two exceptions, I didn’t really have much to write about. I suppose my only words of wisdom from the past few months are if you live with a graphic designer, you will find about 600 pieces of card stock after he moves out and you begin to think that maybe you’re manufacturing it.

Anyway, I have a new home and I love it even more than I thought I would! On moving day, I always find myself walking around with a critical eye, examining every crack and looking for hidden gems. Some pros and cons of my new place, compared to my old:

Pros:

  • Hardwood floors
  • Large tub
  • Double sink
  • REAL intercom (doesn’t link to a phone)
  • More space
  • Allows pets
  • Ground floor
  • Lots of closet space

Cons:

  • No laundry
  • My view is of someone else’s apartment
  • That centipede I saw last night
  • Water-damaged walls needs some major TLC
  • I can only assume my kitchen cabinets were made by a drunk 6-year-old:

Doesn’t some of that just boggle your mind?

Best of all, it’s all uniquely mine, which means I get to do what I want to it. I’ll post photos very soon as a ‘before’ reference, but I’ve been creating an extensive list in my head of all the things I’d like to fix up (big & small):

  • Fill cracks and paint all walls
  • Fill cracks and paint ceilings
  • Scrape paint off all doorknobs, etc.
  • Replace all paint-covered outlet and light switch covers
  • Replace knobs on kitchen cabinets
  • Fix up kitchen cabinets (if possible)
  • Get stove replaced (this may require some unethical things, we’ll see)
  • Paint fridge
  • Paint or replace shower curtain rod
  • Wash windows (from the outside – perks of the ground floor)
  • Remove all curtain brackets (seriously, there must be 30 left behind)
  • Hang curtains (there’s enough windows that I’m calling this a job)
  • Re-install all my old wall-stuff

So that’s where I’m at. This doesn’t include anything organization-based, but mainly because I haven’t found those flaws yet, living there so briefly.

Wish me luck, and stay tuned.

Things I Like: My Spice Rack

I won’t lie, I’m between paycheques right now and that sort of stalls any progress on my apartment overhaul. But in my years of tiny living, I’ve acquired some nifty tools that I think are also worth a mention.

I like to bake. Cooking isn’t my friend, but I do like to bake, and over the years spices have crept into my cupboards to the point where I now have the same amount as my Mum, and, well, I guess that’s adulthood. You don’t expect it. With varying sizes of jars and bags floating around in my two rubbermaid baking bins (also a remedy that’s going to take some thought), something had to be done. It’s already bad enough I have to haul the two bins down every time I want so much as a mug brownie, but it seemed a bit absurd to keep the dill in the highest corner of the kitchen (this reference only really makes sense if you know that I add dill to damn near everything).

Sometimes you need to spend a bit more than you expected to get just the right thing, and that’s definitely the case here. I bought this set of 12 magnetic spice jars from Gneiss Spice on Etsy over a year ago. In two sizes – 4oz and 1.5oz – these hexagonal jars (also available in round) come with magnets on the inside of the lids so they stick to any metal surface (my fridge). Gneiss also offers custom wall plates for them (with neat options like ‘rustic’) in case you have the space to have them on your wall. In which case, get out of my blog you yuppie.
I would suggest choosing the 4oz size, since the 1.5oz jars hold quite honestly very little; a glass McCormick spice jar is about 1.5oz, so if you buy the big Club House shakers (or bags) like I used to, then you definitely need the big ones. After buying these, you might as well do you shopping at Bulk Barn to save any waste. I confess that I did throw out quite a bit of seasoning when I first got them because I didn’t see the point if I’d have to hang onto the shakers for the months (or years) it would take to use up the remainder.

You’ve probably seen something like this before. If you’re like me, it was probably at IKEA.
Grundtal. Same concept, non?
Yes, and if money truly is your main driving factor and/or you don’t use your spice collection enough to justify the cost of Etsy, then I wouldn’t bother either. I did consider it though and here is why I chose the jars over the canisters:
  • Appearance – the jars had much more style and the interlocking shapes seemed much more appealing (as well as spatially economic)
  • Capacity – even the largest Grundtal containers don’t hold as much as the 4oz jars
  • Weight – the canisters don’t hold as much while staying in the same place; the magnets are just weaker

The newer sets even include spice labels! I really wish these had been around when I ordered since I Sharpied spice names on the jar lids and now there are permanent black smears all over my landlord’s white fridge… oops.
So that’s just my little tip if you have a lot of spices (if you don’t, you’re probably under 25 or male), and one more handy way to store them. Though really, any spice rack is better than nothing. Just remember to use labels correctly or else you’ll be looking for oregano one day and basically cross your fingers the green leafy one is right…
I mean, theoretically.
Fun fact: these things hurt like a mother when you hit your head off them coming up from the fridge.
Cost: $68 + shipping
Source: Etsy

Mason Jar Light: Not-so DIY

Ooooo had to get out the fancy camera this time. Don’t get used to it, it’s just impossible to photograph a light bulb.

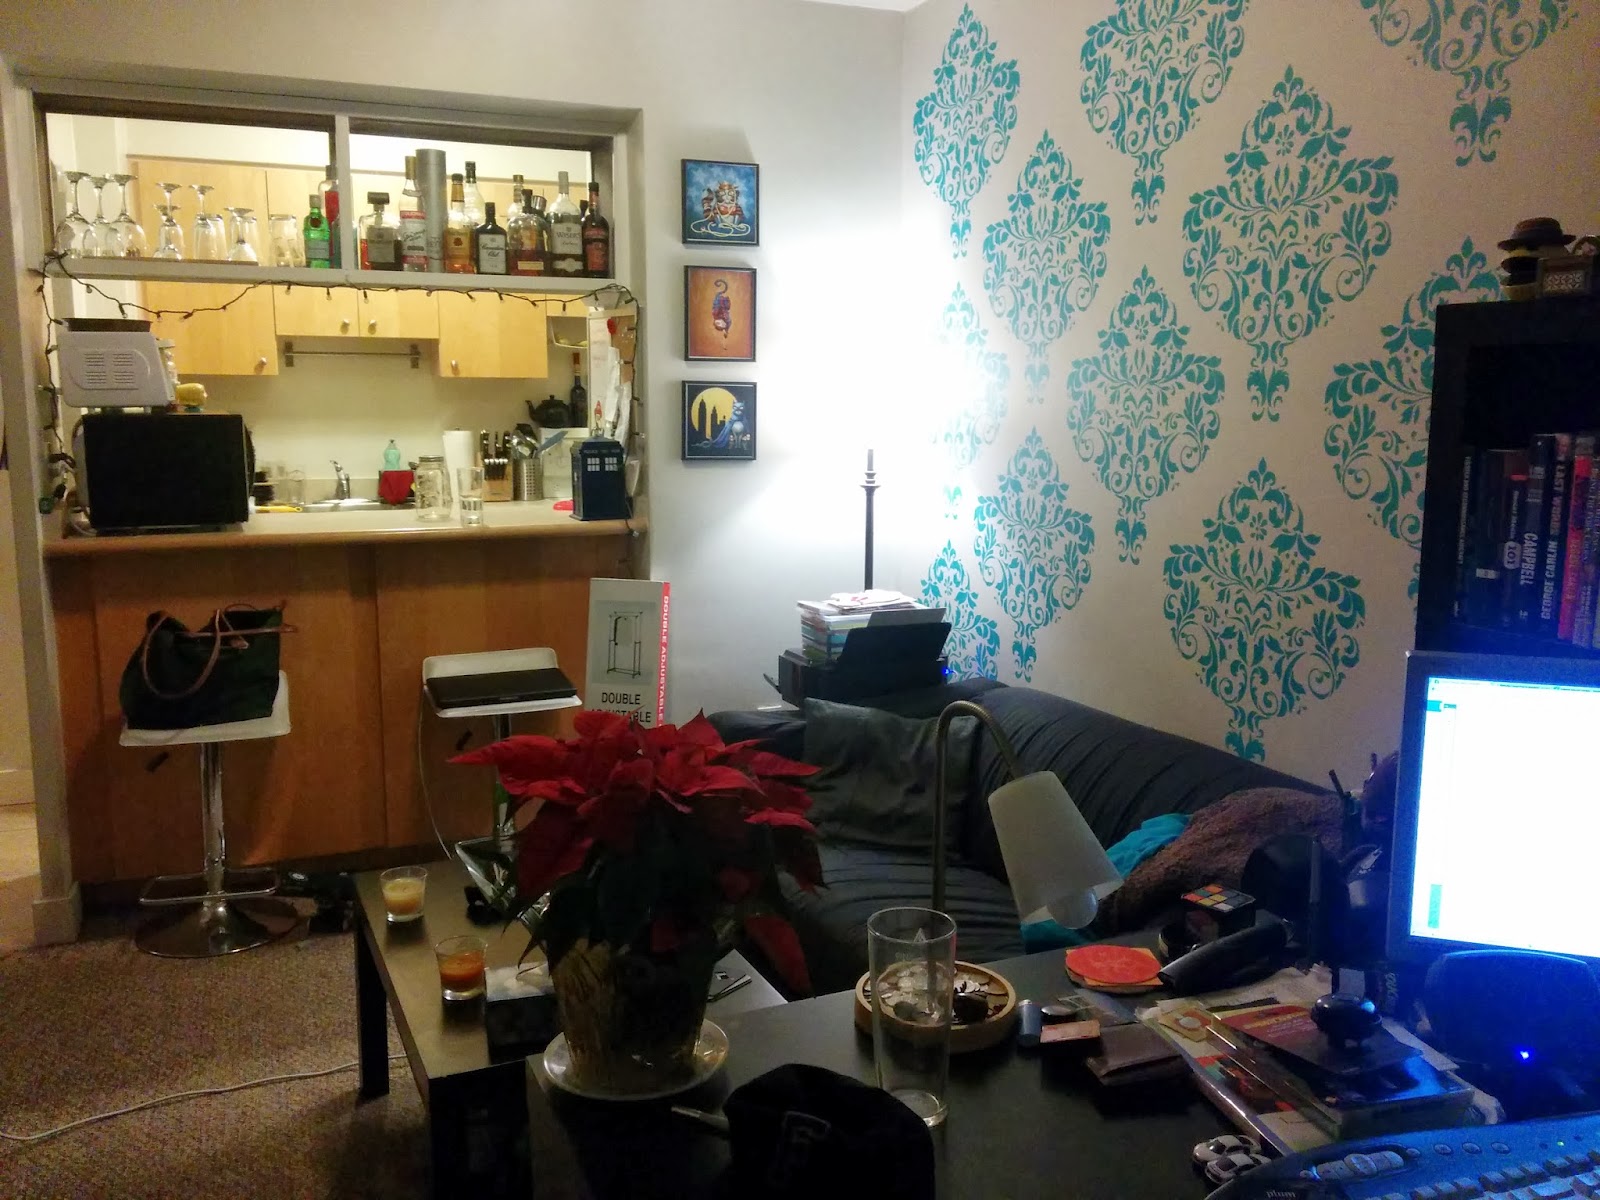
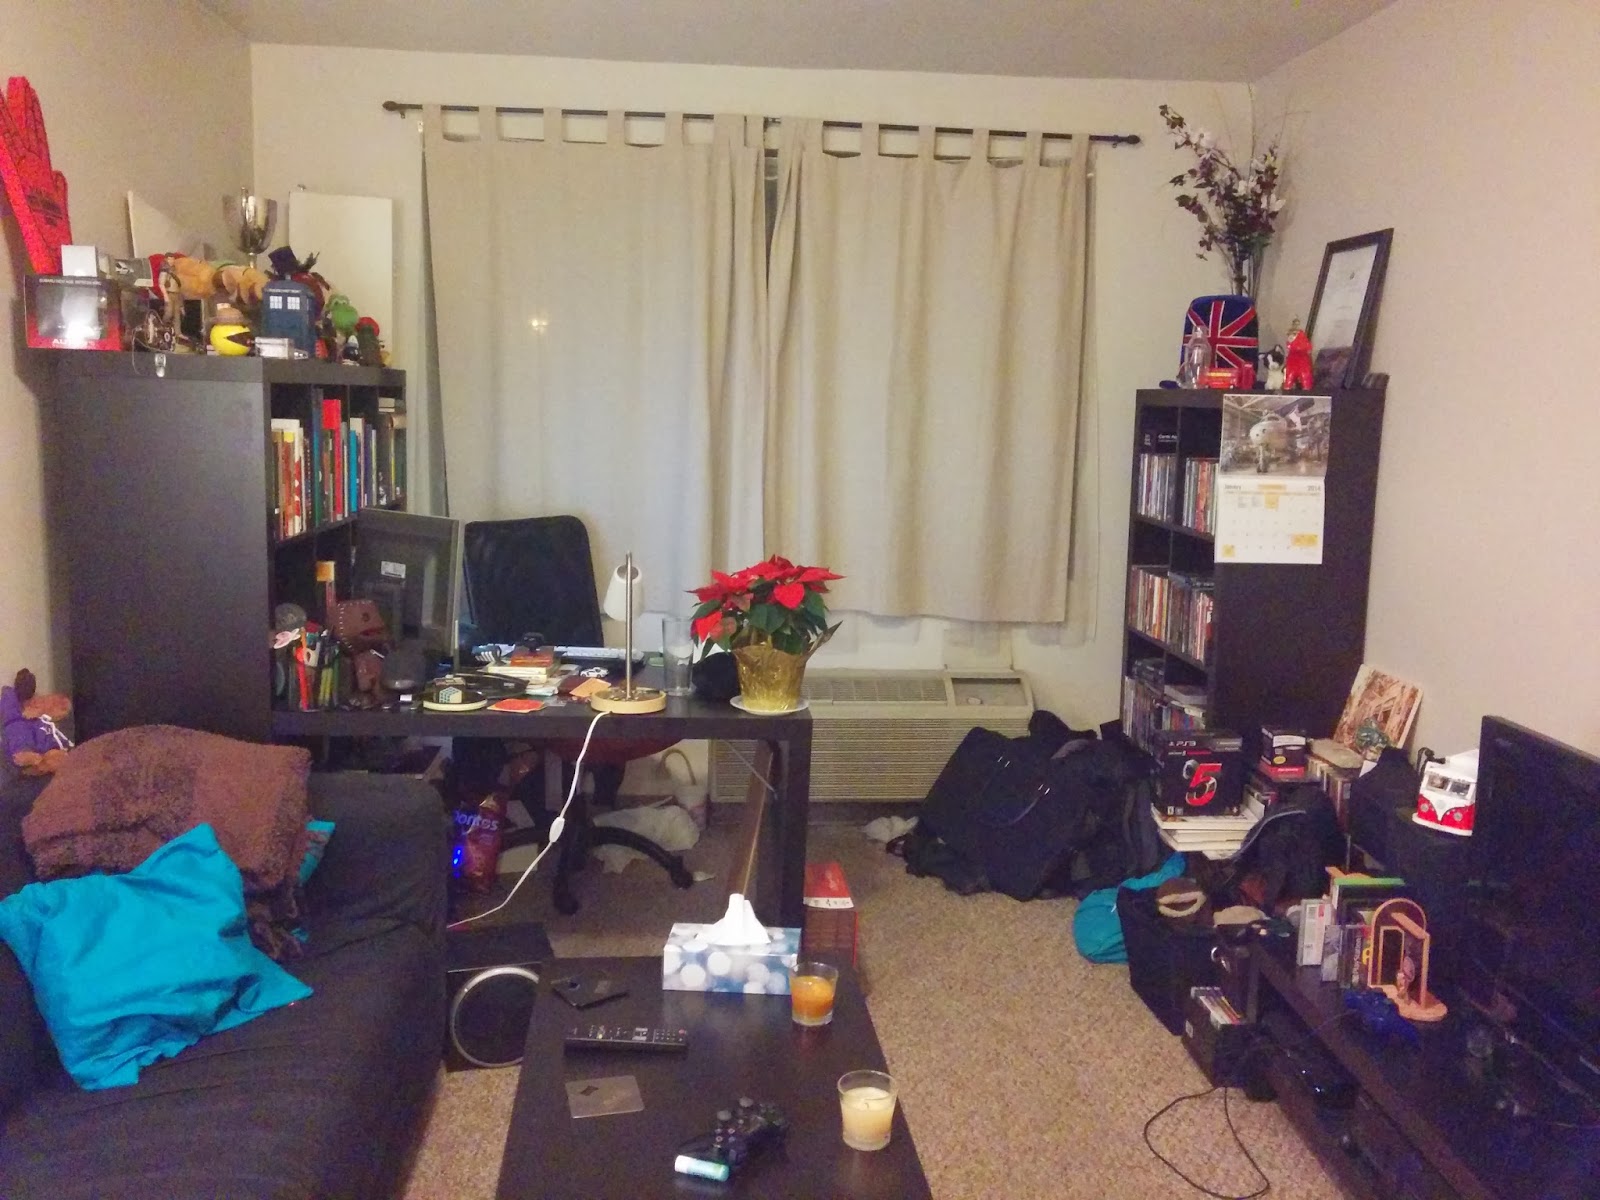
Kyle and I are at a constant tug-a-war with the living room light. I like the corner lamp because it’s a soft light, and lights everything in a pretty inoffensive way; he hates it because it’s too dark and claims he can’t see anything. He likes the ceiling light fixture with its two fluorescent bulbs because everything is very clearly lit; I hate it because you could do open-heart surgery by it.

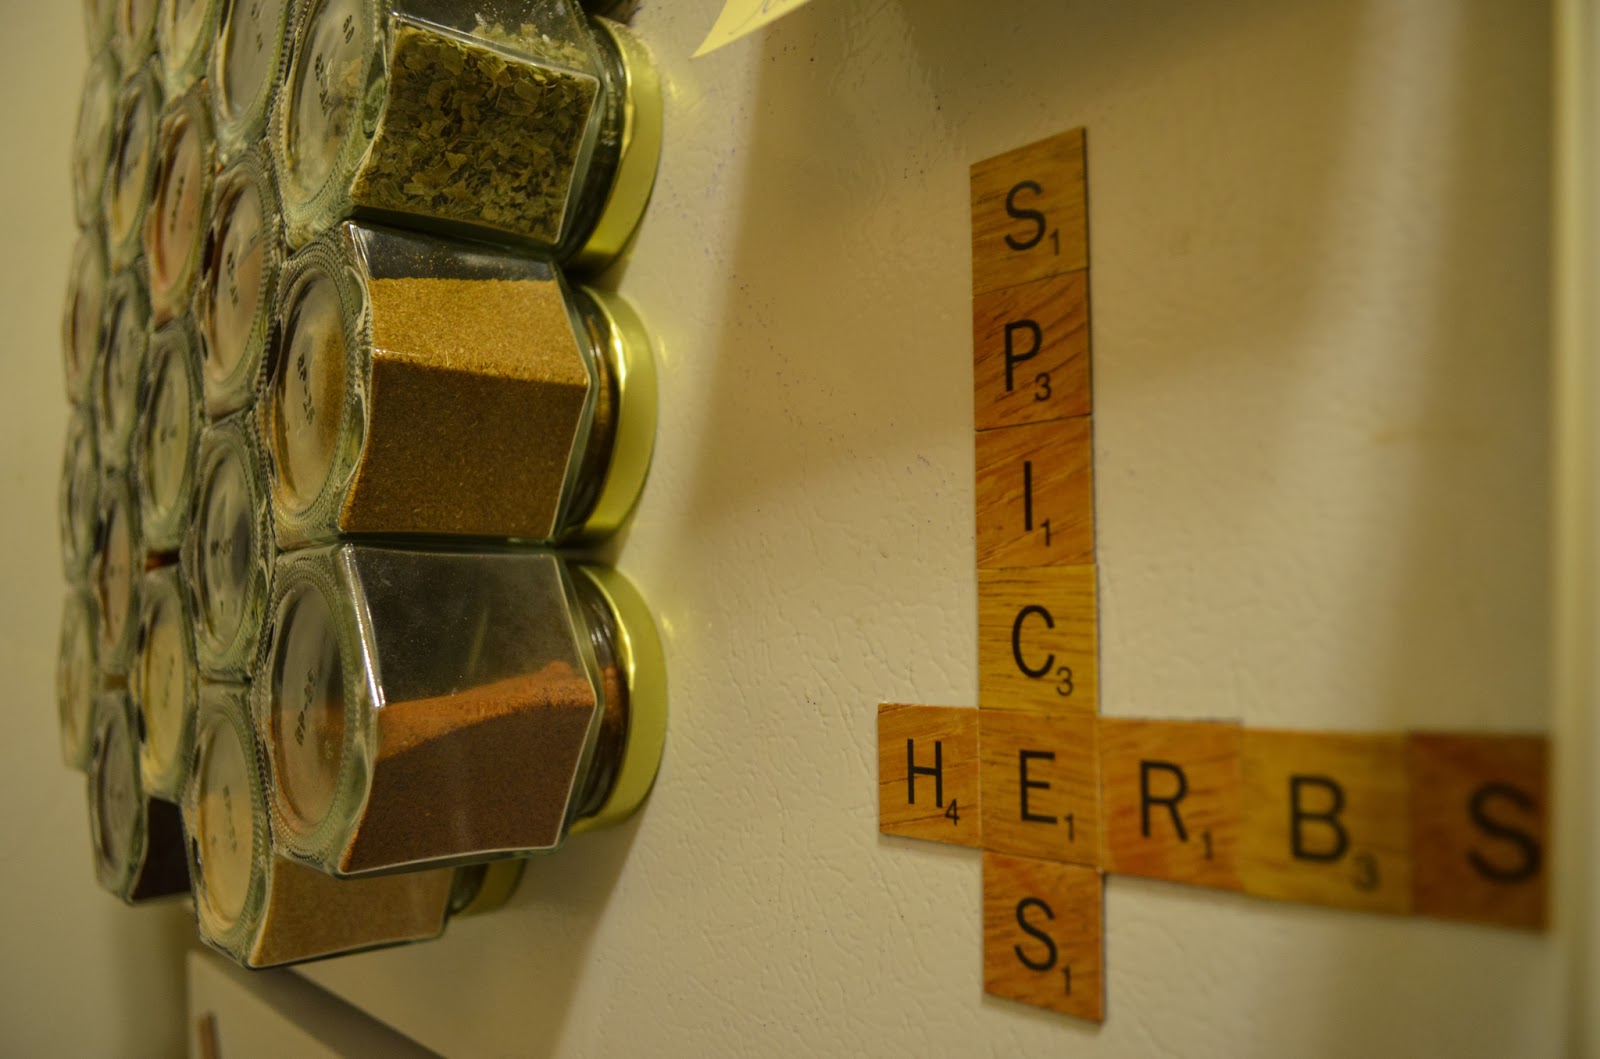
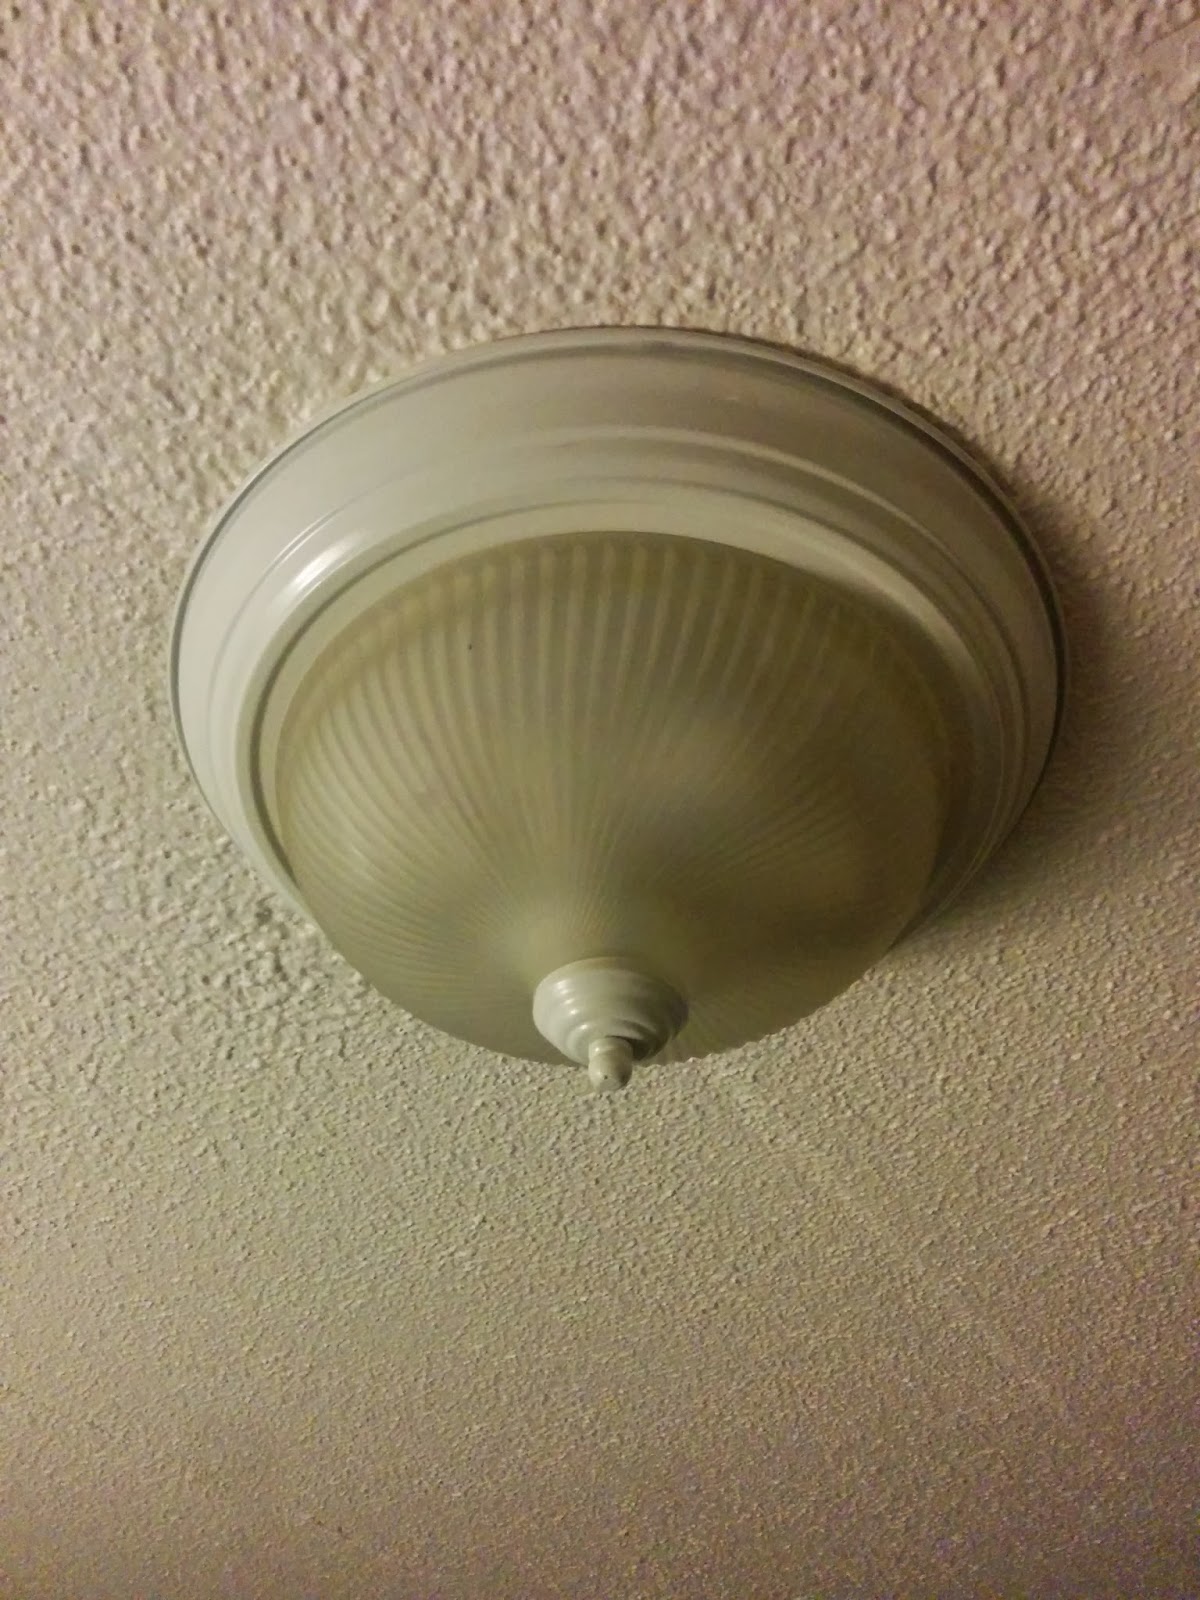
That’s not why I wanted a new light fixture though. I just couldn’t help but realize that I’ve been living with these same dome lights pretty much my entire life no matter where I was, and that maybe something fresh and different would be the key factor in truly changing the image of the apartment. My inner hipster loves anything with mason jars and since I’ve relapsed with my Etsy addiction lately, this seemed like a great idea.

Most DIY tutorials will walk you through how to put together a light socket kit, but as much as I want to be handy, I have no desire to start anything to do with wiring. I needed more than one pendant to make sure the room would be properly lit, so I picked up this 3 mini-pendant light fixture from Lowes ($62 with tax – this definitely would have been cheaper had I done it myself). I also got 3 wide-mouth mason jars from Micheals (total $14 with tax) – one large, two medium. That was the easy part.

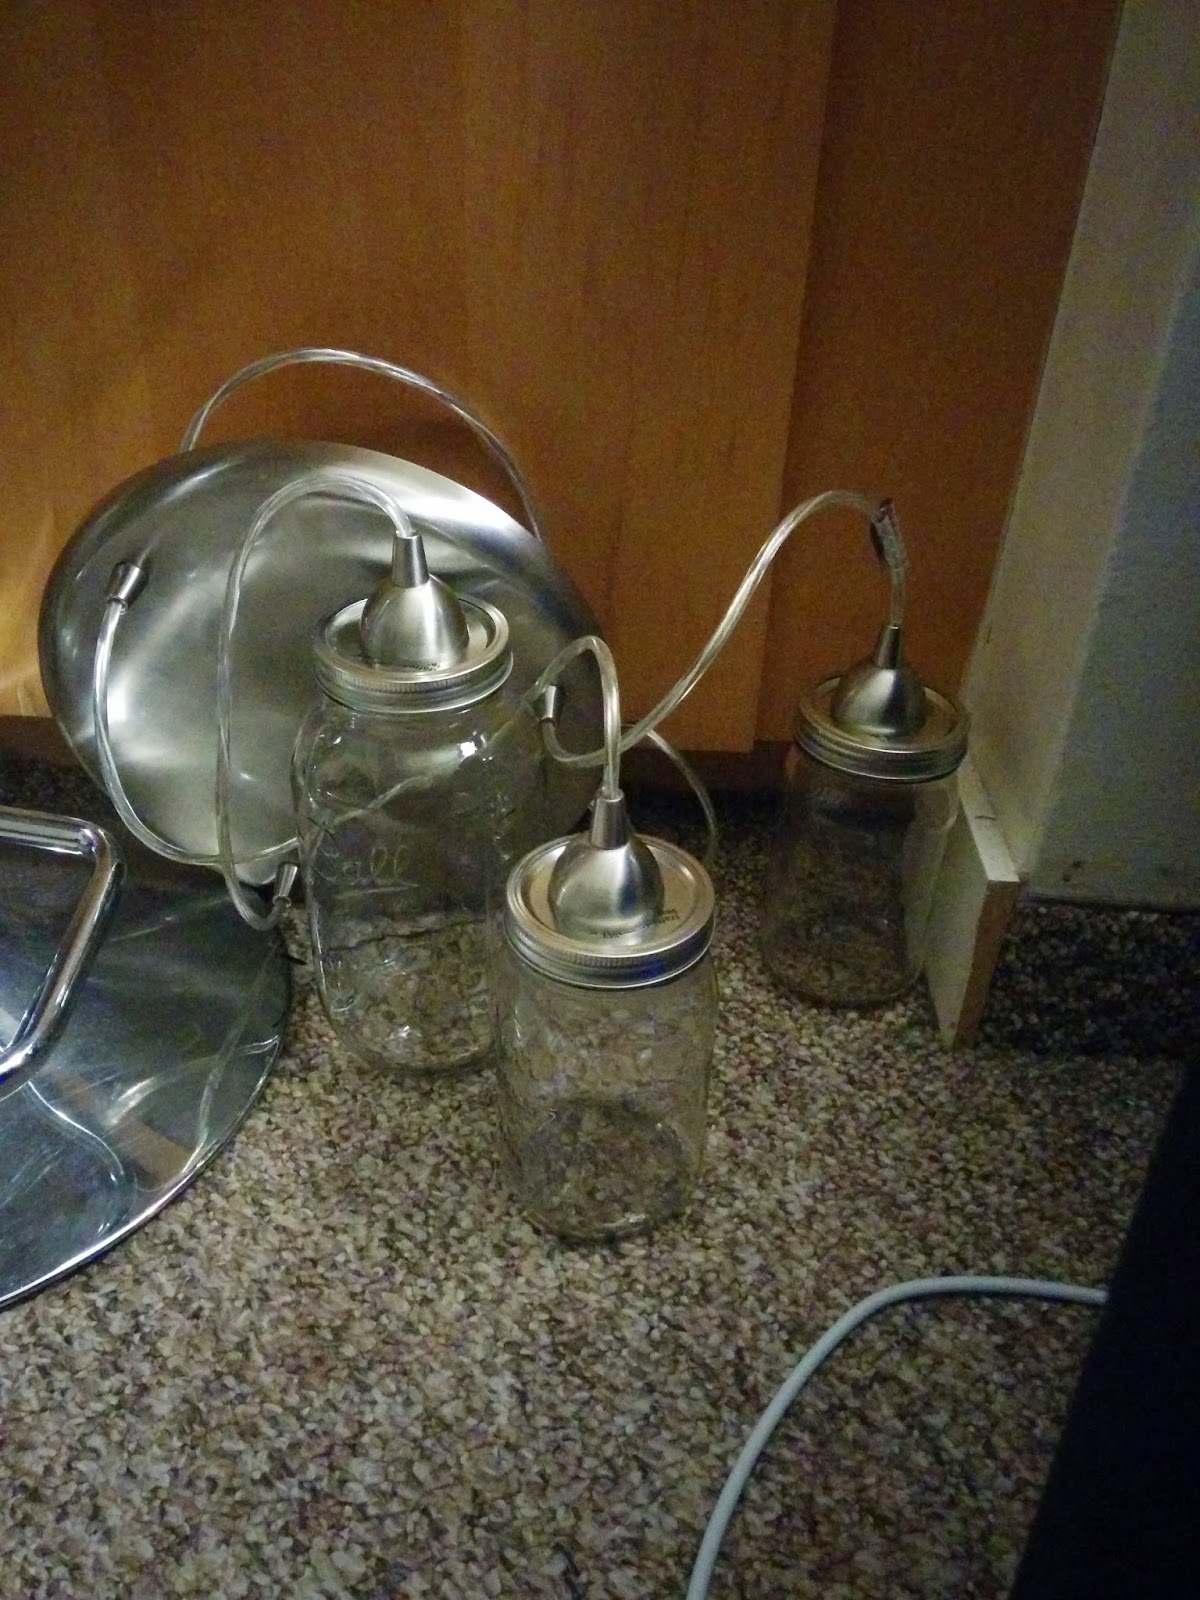
My Dad has enough tools to – I think, anyway – officially call the basement a workshop. This is lucky, as I don’t own a hole saw to cut through the lids. He did this for me in the time that it probably would have taken me to identify what a hole saw looked like, and I was sent home with my newly cut jar lids and my light fixture, ready to put up.

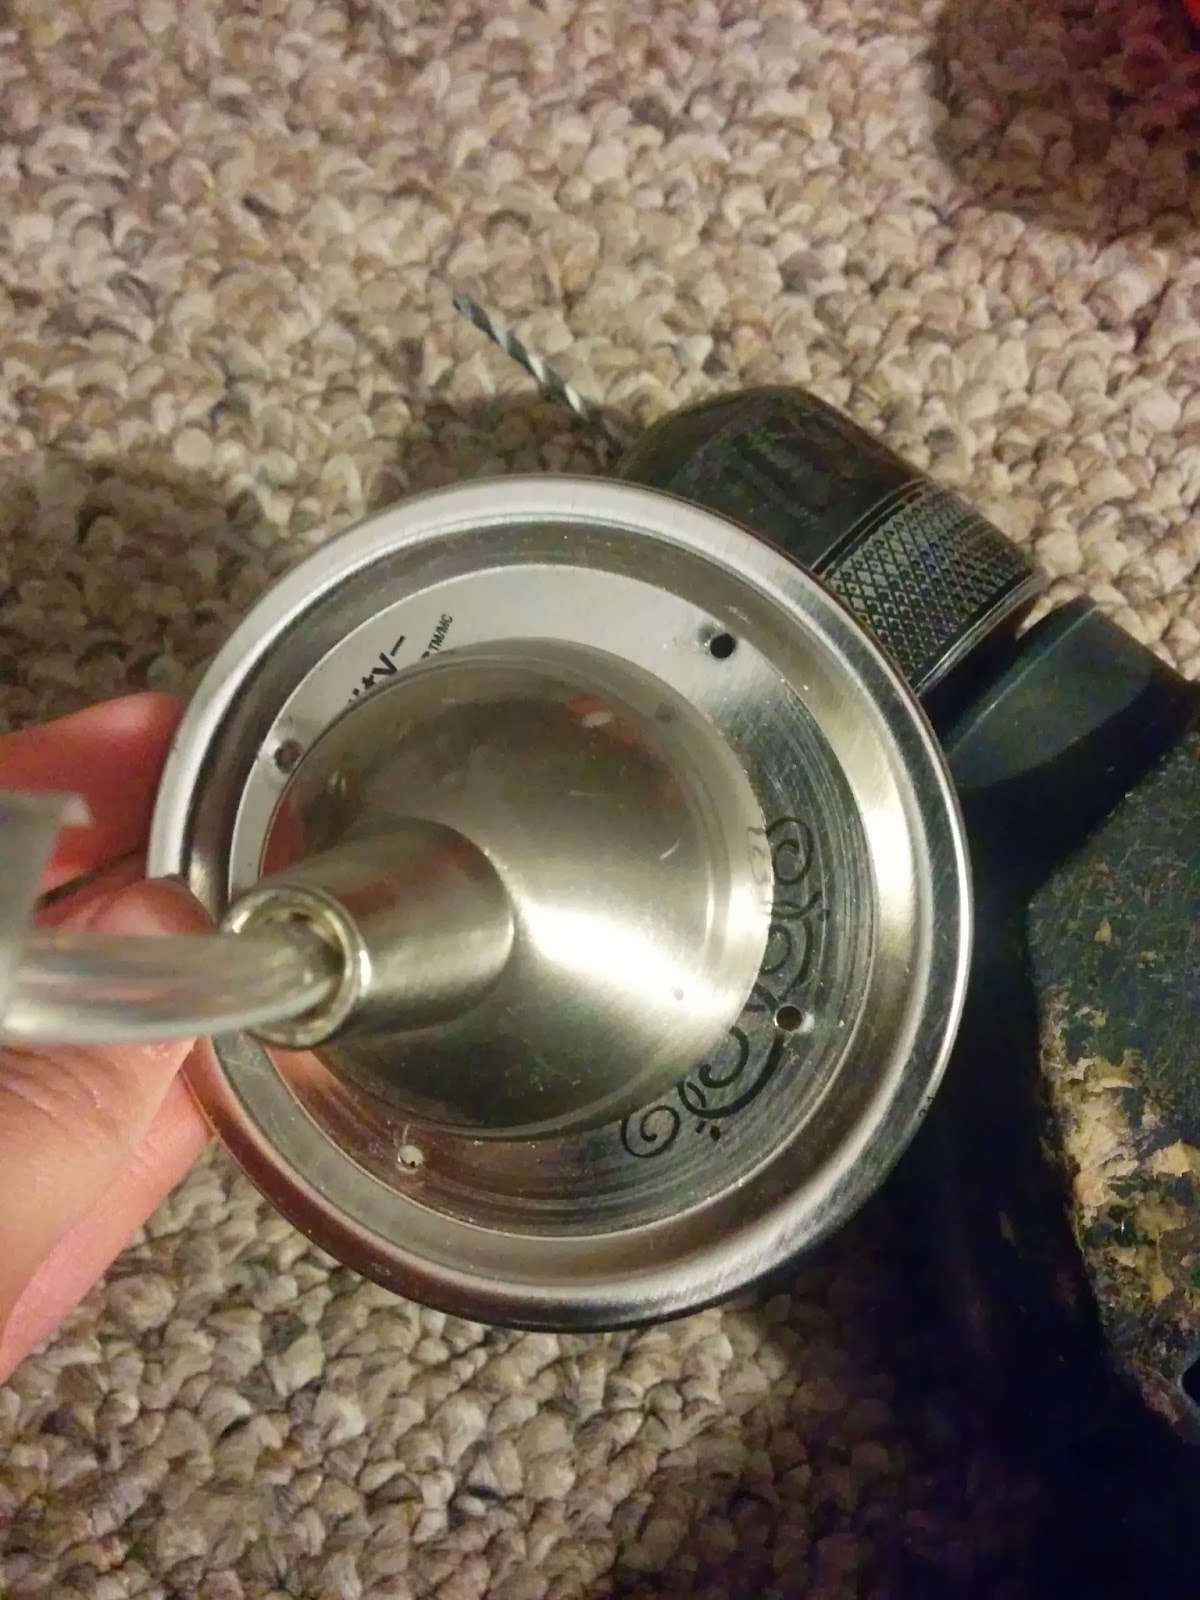
It looks like a science experiment or octopus torture chamber.

Not true, however, and this is something that no DIY tutorial told me. You need to drill a couple tiny holes in the top of the lids to allow heat that builds up from the light bulb to escape. Mason jars have one function – to trap air. If that heat builds up, I can only assume you’ll have glass and filament raining upon you someday. Not hard at all though!

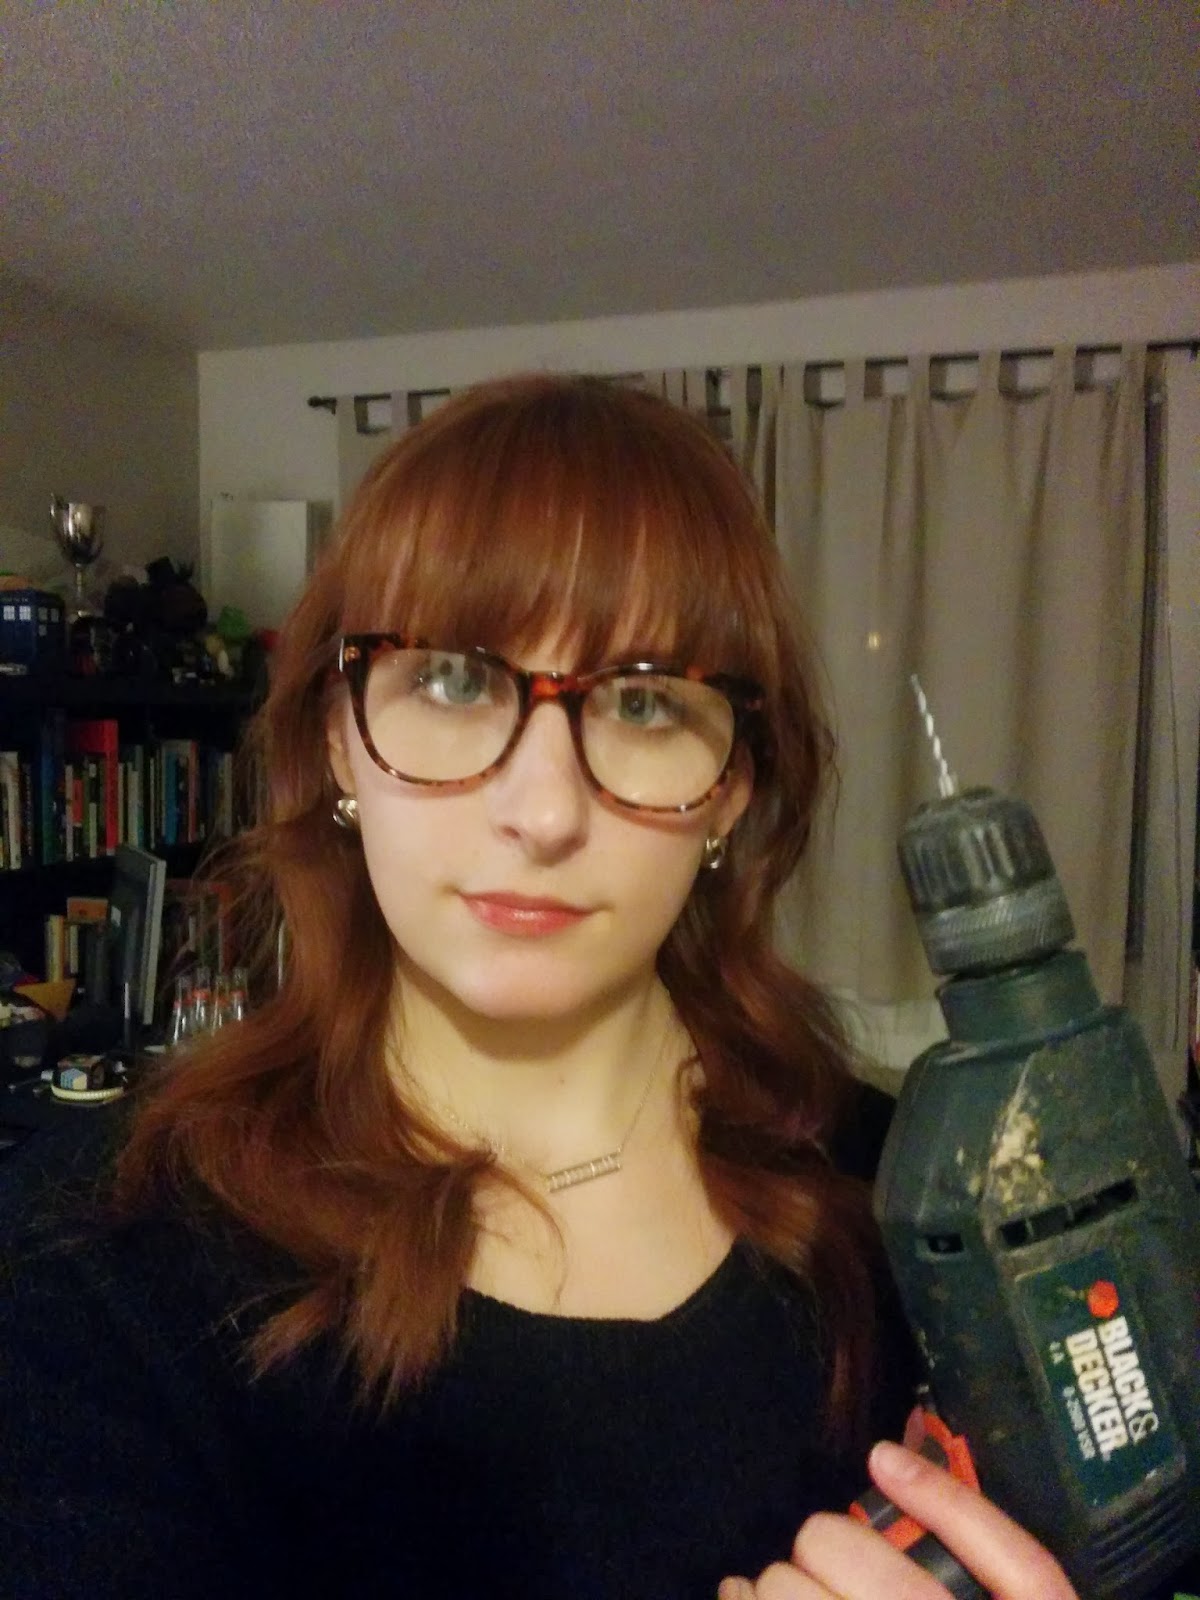
Remember to wear safety glasses in case of falling debris. Or if you don’t have safety glasses, grab those Urban Outfitters glasses you bought last summer that you thought would look cool but actually look awful and were a waste of $16 and for some reason you haven’t thrown them out. They’ll do in a pinch. But throw them out after, k?

See that sweater? Trade that in for a t-shirt too. I was gasping by the end.

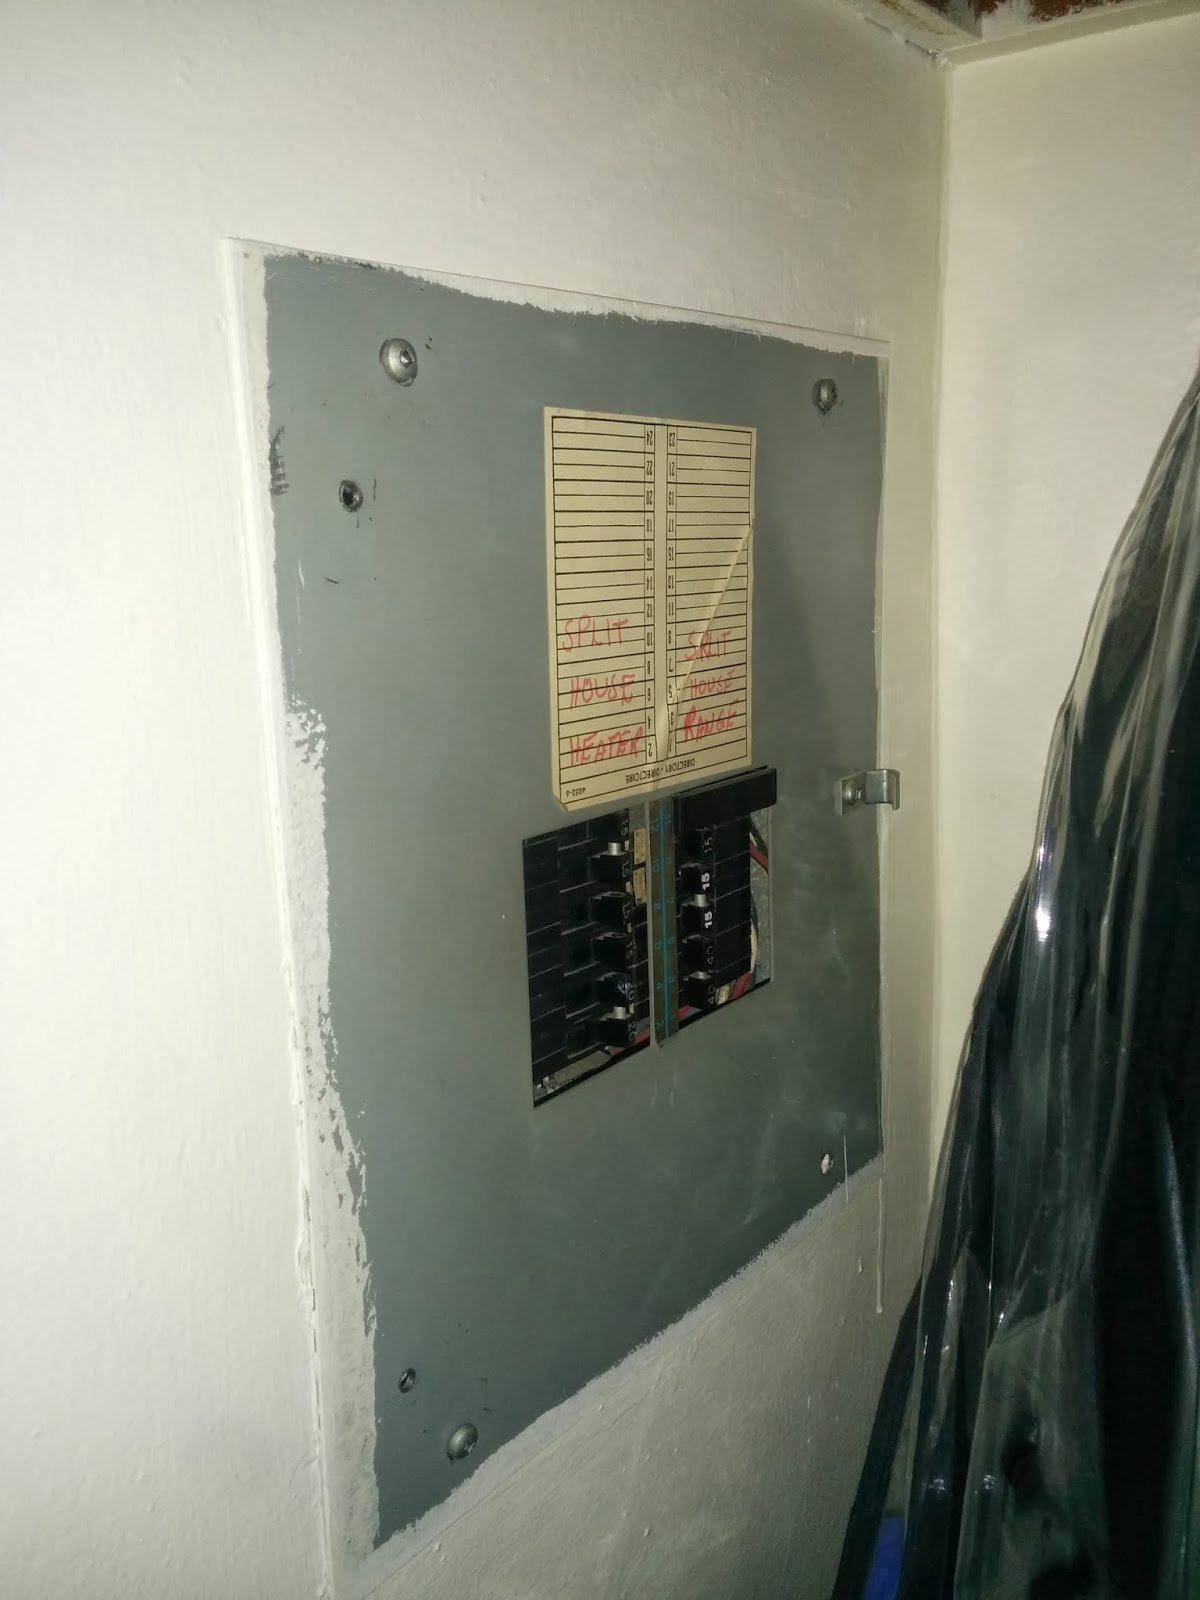
The short list of things I like about this apartment includes the fact that I have access to my breaker box; it makes this much easier and well, possible. You better turn off the power to this particular light. Of course you have no idea what any of these do.

Good thing your hyper-organized friend got you 5 colours of Post-Its and pens for Christmas. Take this chance to label which ones do what and turn off the right one once you find it.

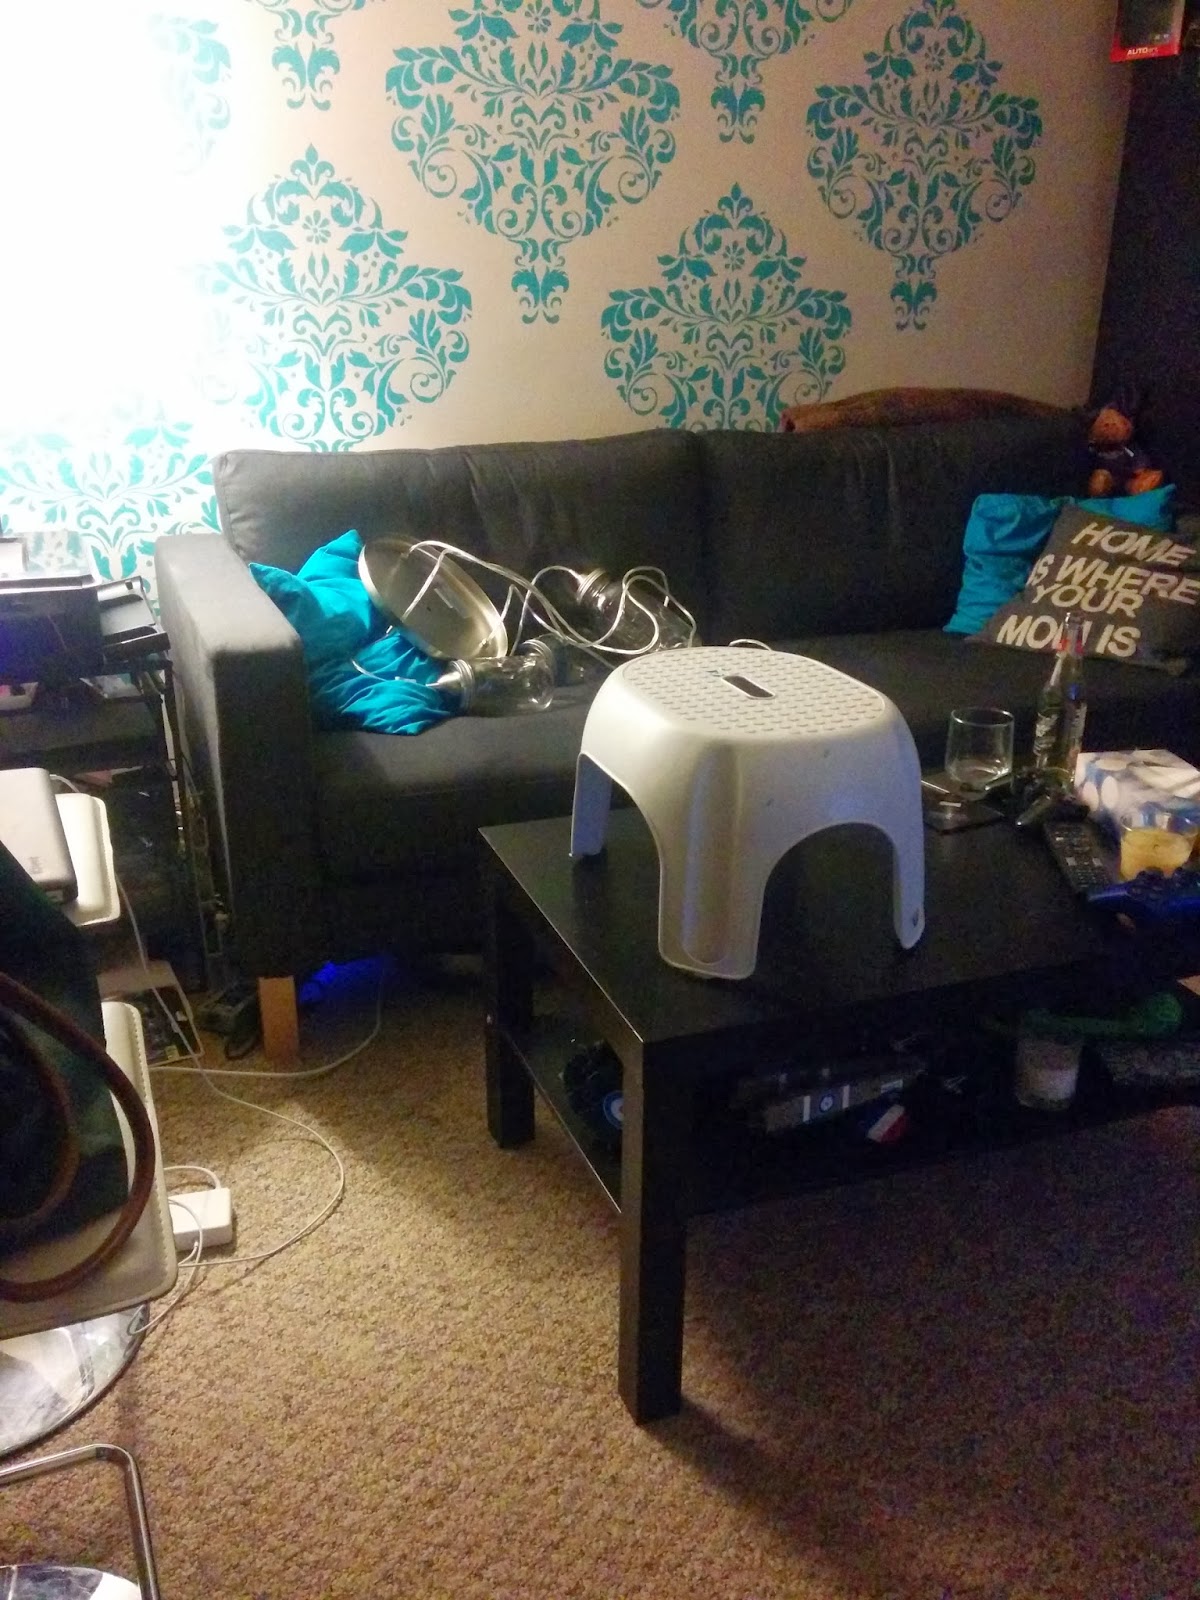
One last note on safety…. DO NOT DO THIS:

I don’t own a ladder, but a step stool on a coffee table that I’ve already admitted only has 3 functioning legs is not an acceptable cause of death. Don’t let the fact that I’m alive to write this fool you into thinking it’s safe. I’m an idiot, remember.

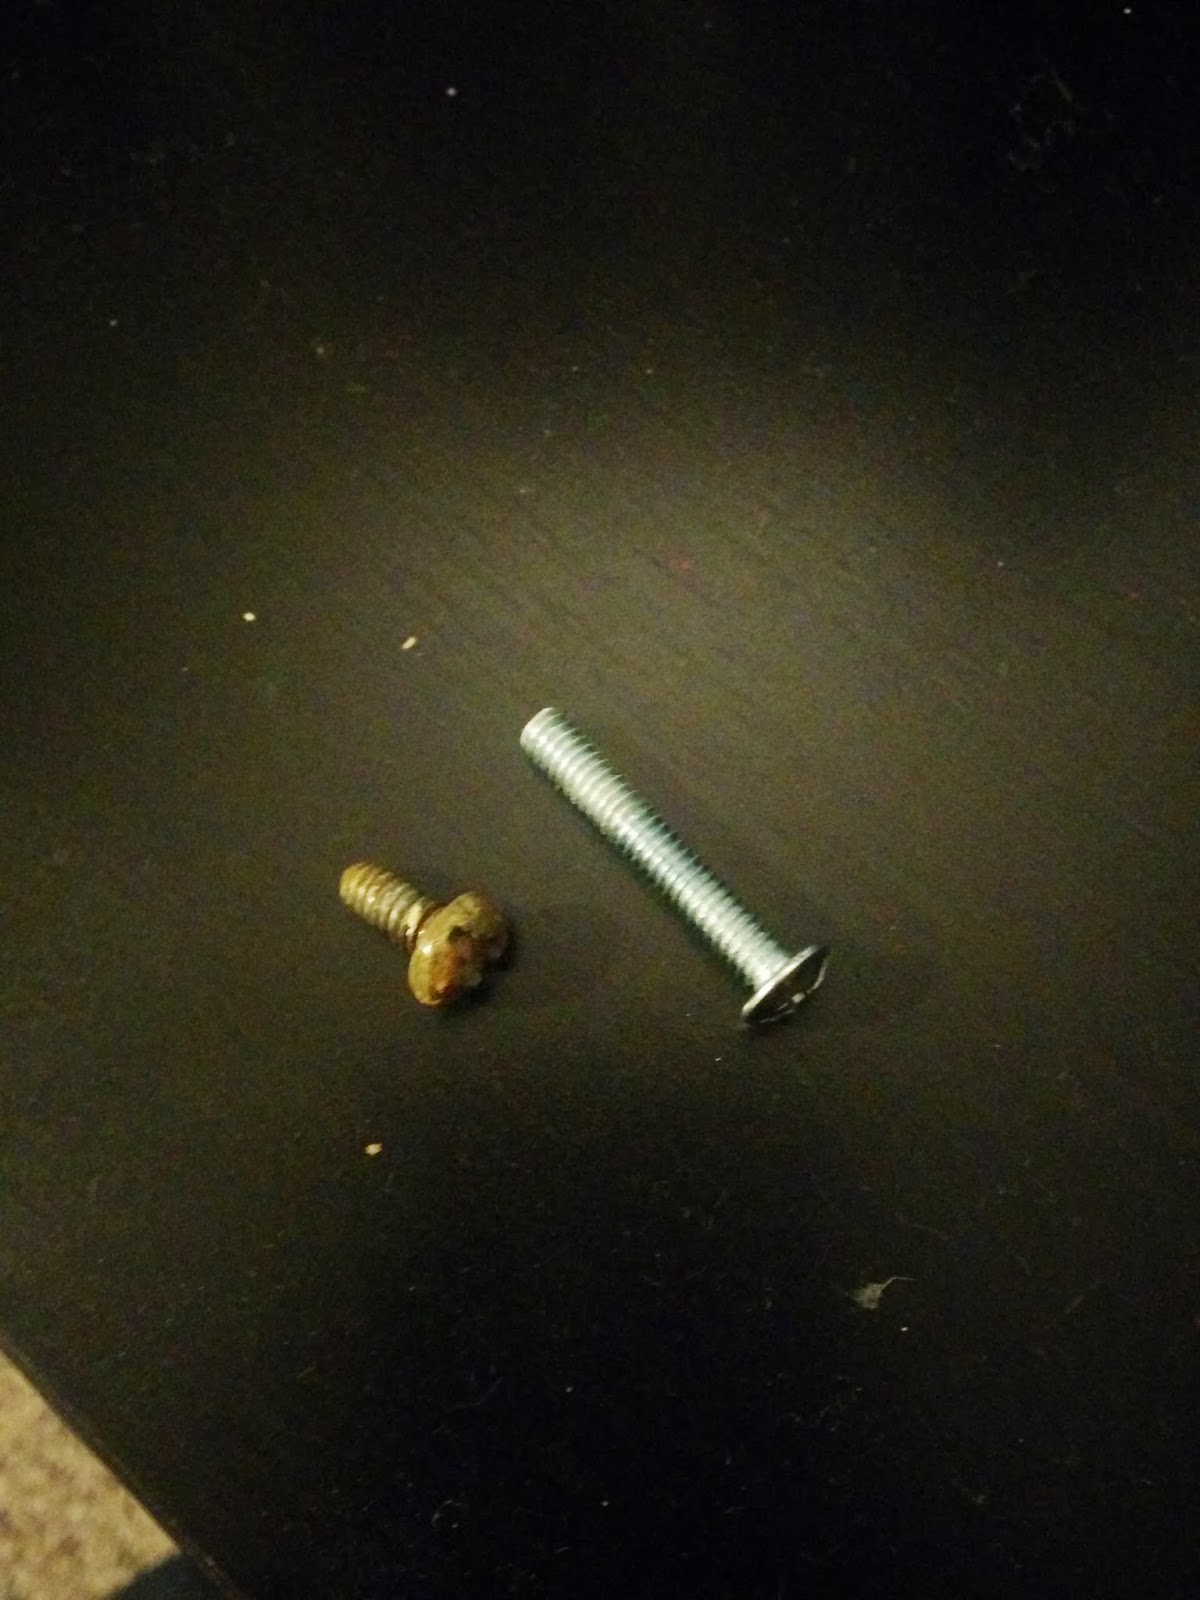
After that it was your basic dismantling. I used this as a guideline on how to switch out a light fixture. I guess it went smoothly enough, except that when it came time to put the new base in, I couldn’t figure out why the new screws didn’t seem to fit. This could be why:

So I used the old screws to fit the new base. Hope they don’t crumble and die though, ’cause they seemed to be as old as the building.

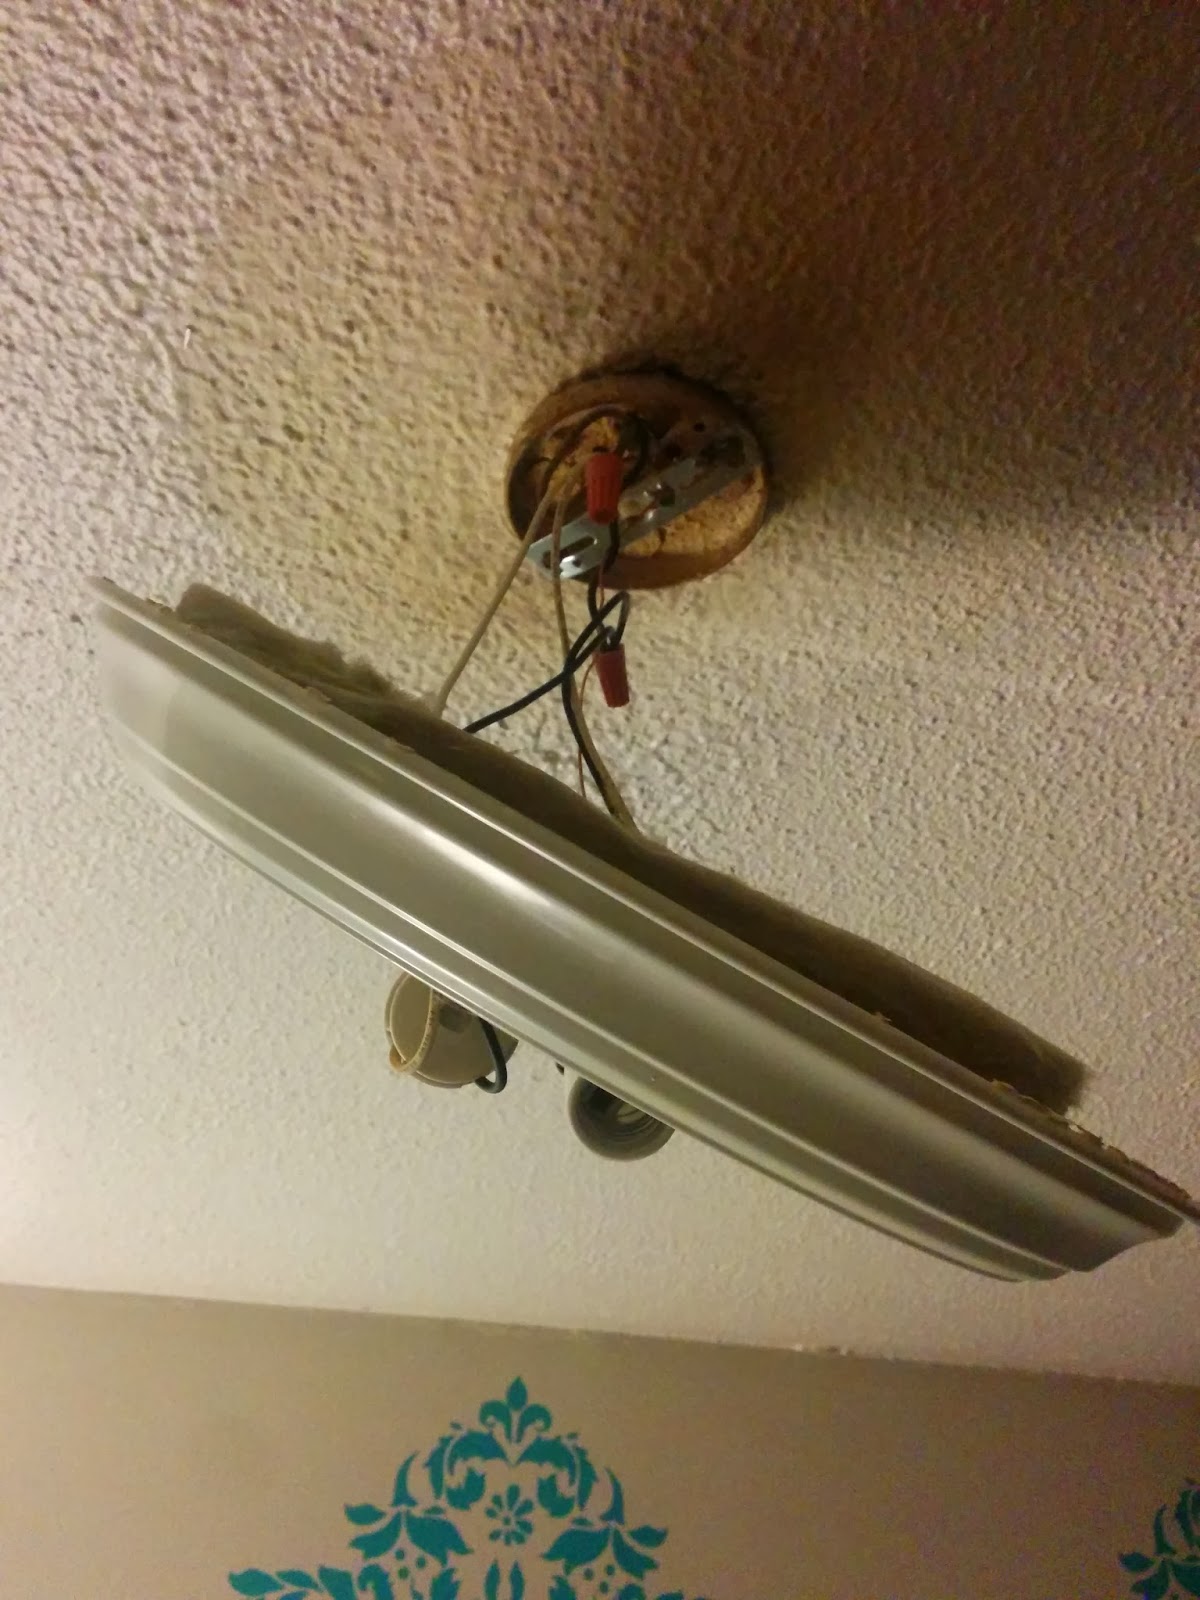
Full disclosure, this isn’t perfect. As you can see, it’s an external base, unlike most places which would have a nice hole here. Because of this, the peg on my new light fixture ended up being too long, and so the fixture hung about an inch from the ceiling. I frantically paced back and forth for several minutes before the obvious solution occurred to me; the same solution I used for the screws. Use old parts.

I call it the nipple, for obvious and mature reasons, but it’s the piece off the old dome fixture that filled in that hollow space between the bolt and the base. I plan on it being temporary, but unless I can find a nickel finish version of this, I guess it’s not the worst thing if it sticks. Open to suggestions!
Yes, there’s a tiny bit of cable peaking out. It’s taunting me.

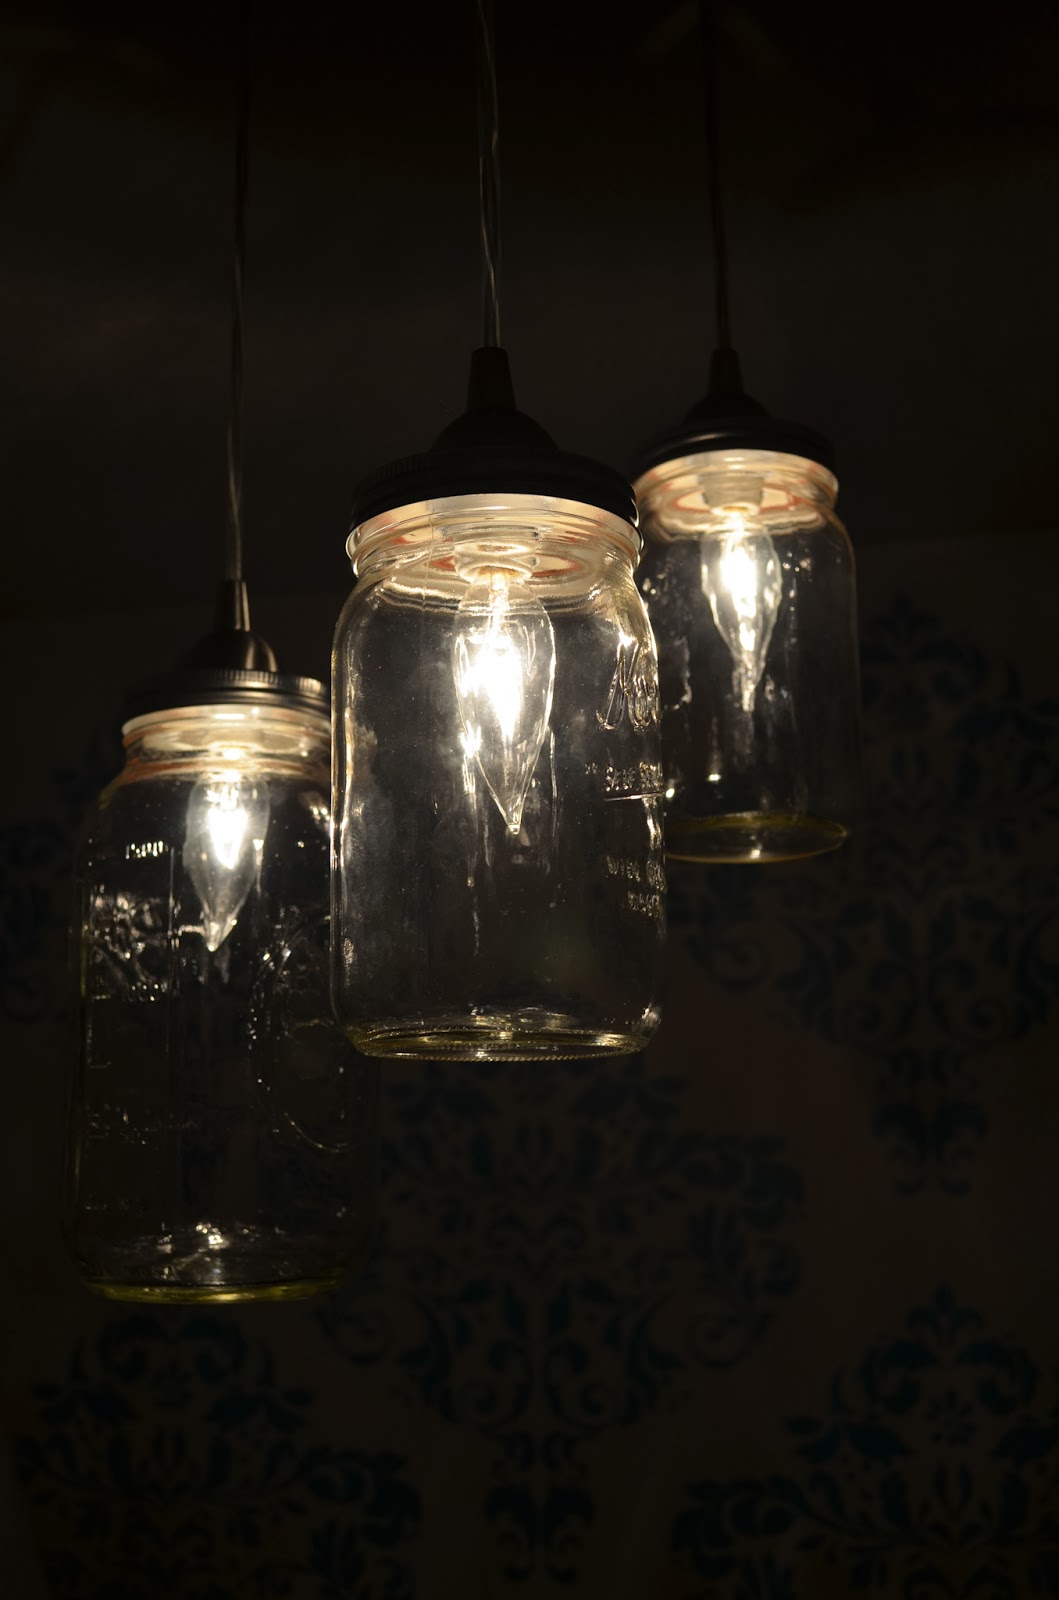
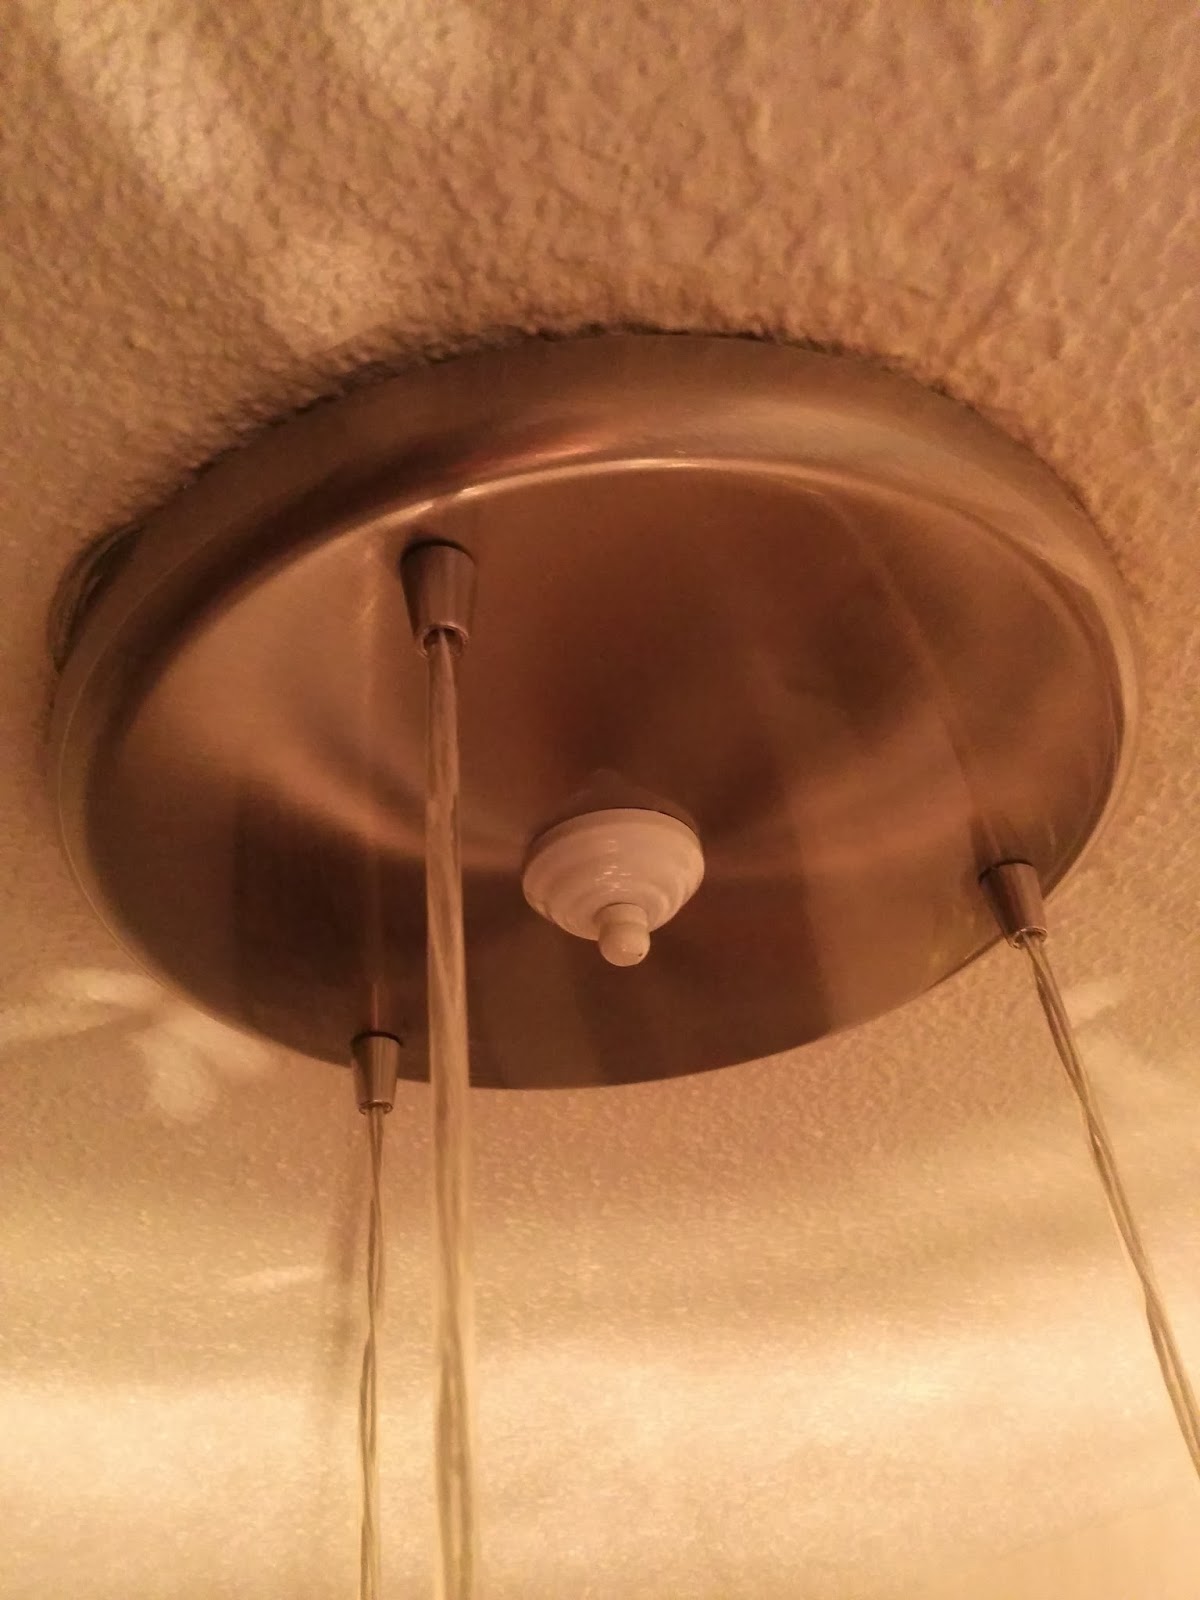
My face must have looked like Christmas when I switched the power back on and everything, well, worked. Not only that, but the lighting was perfect; it was the perfect balance between the open-heart surgery light and the too-dark lamp. The glass cast some cool subtle shadows across the apartment as well (because they hang lower, the light now shines through the liquor cabinet), and the tiny holes in the top provided a fun pattern on the ceiling.

In terms of bulbs, these are 60W candelabra sockets. I ended up using 40W clear bulbs (store was out of frosted – I’d like to try those so it’s easier to look at), but I tested some 25W Edison bulbs before them. They were brighter than I expected, but just not quite bright enough to light the room to a decent level.

So that’s how we pulled off the mason jar light fixture – sort of DIY. I’m happy with the result, and I’d do it for my entryway light if we wouldn’t become known as the people obsessed with mason jars.

Cost of Light: $62 + $14
Source: Lowes, Micheals

I’m going on an adventure!

Having moved from this apartment and now living on my own, I suggest picking up at this entry in my current apartment.

About a year and a half ago, my boyfriend and I moved into our first apartment in the Parkdale area of Toronto. Prior to that, he had been squatting at my bachelor on the outskirts of the city for 6 months, and to be honest, my bachelor was perfect for me; painted my colours, hardwood floor, spacious, big kitchen. Everything fit perfectly, but it wasn’t *ours*. I guess when I was shopping for that apartment, it just never occurred to me that a year later (or ever) a guy would want to live with me. Even he’ll tell you that our decision to move in together was not romantic; he was moving to Toronto for school and didn’t want a roommate, while my perfect apartment had been overrun by desert ants and roaches.

I love Parkdale. It’s a pocket of Toronto that is the right amount of hip, but sketchy enough that the rent is still affordable. We found a small 1-bedroom just off Queen St., but I don’t think we realized until move-in day exactly HOW small it was. It was a bit smaller than my bachelor, but it was like someone had balled up my bachelor apartment and put a wall through the middle (and lay down a hideous carpet). We had to return the IKEA bed-side tables we bought in anticipation of a reasonably-sized bedroom, and I had to banish multiple pieces of furniture to my parents’ garage (AKA Addie’s storage space and the home of my dining set).

This past month I looked into moving to a new apartment and got my hopes up over one in particular, but in the end, we couldn’t afford it. Living where we do may be frustrating at times, but the low rent means that we get to experience the city, rather than lock ourselves in a very nice apartment and eat beans. It was a bit of an epiphany, and I suddenly became content with our apartment; in fact, I saw it as a challenge.
 So if I can’t make it bigger, then I will make it nicer and better organized. Of course, I’m limited by the fact that it’s a rental; our lease says we’re not allowed to paint or technically punch holes in the wall, but I’m voiding that for the sake of my sanity. I paint over and fill in any holes when I leave any apartment anyway. So no hardwood floors, claw-foot tubs, or knocking down walls like I’d want to, but lots of prettying.
 I like the kitchen. Lots of cupboards, and let’s face it, we moved here because of the pass-through and built-in liquor cabinet (which is packed for good reason)

My ideal laundry-list:
·         Pipe & Plank wall unit (inspired by this)
·         Mason-jar light fixture SUCCESS
·         Accent walls (bathroom & bedroom)
·         Replace dresser with dual clothing-rack
·         Adding shelves/holders in cupboards SUCCESS
·         Incorporate a small desk (for my laptop)
·         Replace bed-frame with legs & fabric box-spring (inspired by this)
·         Add magnetic knife-holder (to clear counter-space) SUCCESS
·         Shelf in the bathroom
·         Remove closet doors/replace with curtains.
·         Wall shelves in the living room
·         And of course, clean and throw away anything we don’t NEED.

Replace:
·         Couch (left arm is damaged, and it’s small) SUCCESS
·         Coffee table (left leg is broken)
·         Bar stools (topple in a stiff breeze and WILL kill you)
·         Coat hooks (2 hooks are broken)
·         Kitchen garbage SUCCESS
·         Living room curtains
·         Cushions SUCCESS – I forgot to mention it, but they are seen on the couch

 Now obviously I decided not to move because it was expensive, and this costs money, but this is an ideal list. I’ve prioritized some things, and for the sake of saving money and being less useless, I’ll be building some stuff myself. I’m hoping to start on the pipe shelves soon (the hardest part, no doubt) – these things retail for like $1,500 on Etsy, it’s crazy. I’ve also signed up for a sewing class next month and that’s where curtains will be born and hopefully extend into things like cushion covers (because who is actually paying $40 for a bloody cushion?)
 So consider this a how-to in both renovating rentals as well as renovating on a budget. I’ll be posting my updates, but I’d love to see any ideas or experiences anybody has had. Looking forward to watching my apartment change, so here are some shots of it now. Enjoy!

That is a lamp, not a portal to another world. As you can see, our lovely pass-through was the selling point for this place. I did the stenciling myself to add a bit of personality and I’m hoping it will still suit my plans. Note that my laptop is on the right stool, and this is basically where it lives since there’s no desk of my own. The new clothing rack is actually sitting it’s box right next to it. Heh.
View from the pass-through. On the right is our shelf of DVDs; we have several hundred (they’re layered here) and this is the best solution I could think of, but it’s still very flawed. As you can see, not a surface to be seen that isn’t covered.
Our entry-way. Needs major work – coat hooks, closet, shoes, etc.
The bare wall used to have a fabric hang (basically to dull the echo) but once I decided to build shelves there, my boyfriend admitted he always hated it anyway so I took it down. You can also see a collection of empties outside the door; I’m toying with getting a narrow shelf for this purpose.
Ugh. This. My boyfriend will tell you what a pet peeve this entire corner is and how I never shut up about it. Our closet is inconveniently located, obviously, so we have a clothing rack (closet door is also broken). This rack will soon be his and mine will be where the dresser/TV is now. My hope is that this will lead to less clothing being stored on the floor.
All good. Only plan for change here is organization, new step stool that folds up (I’m short and use it every day), and re-utilizing the liquor cabinet.
Yeah I didn’t do these in order. I don’t see anything changing here except maybe a shower curtain.
Entrance to the bedroom. A better scope of the size and layout (and should shush all the people who are about to say I could access my closet if I just moved the shelf – WHERE)